I have recently built three single-skin masonry heaters in Argentina using unfired bricks and would like to share some thoughts and an account of the experience. All three were based on the design presented by Alex Chernov at the 2012 MHA Annual Meeting at WildAcres, with minor modifications to accomodate brick sizes, hardware, and site considerations.
 I have spent the past 4 years living in the Patagonia region of Southern Argentina. Natural gas is cheap and widely distributed, but many people here, and in neighboring Chile, continue to live with wood fires as part of daily life for much of the year. Unfortunately, Patagonia has virtually no culture or technology related to efficient wood-burning. There are random kachelofens or grundofens to be found in the aging mansions of European immigrants and a few rocket heaters in the newly built homes of the sustainable-living bourgeoisie, but the vast majority of wood-burners in the Southern Cone of South America are using iron cookstoves (“cocina economicaâ€) or artisanal woodstoves (“salamandraâ€) made from gas-tanks and scrap metal. Frightening, in my opinion, is the fact that when these folks do “upgrade†to a fancy stove it is invariably to one of the tight-sealing “slow combustion†stoves that are taking the market by storm with glossy brochures and hollow buzz words like “double combustion†and “healthy heat.â€Â They beam with pride as they tell you how they can make the fire smolder all night long.
Patagonia is ripe and ready for sophisticated wood-burning technology, but the economy demands a relatively cheap alternative. The answer is single-skin heaters: cheap, relatively simple, and apt for the climate (most of Patagonia has a winter that is mild enough, when compared to Canada, Northern US, and Northern Eurasia, to warrant a more responsive heater.) While single-skin heaters are not currently an option for the masses in North America, they have great potential in laissez-faire South America. (I’m not the first to think this way: for many years the Argentine government has distributed plans for a simple “russian” single-skin heater with a low, long firebox and a flue that zig-zags horizontally. Many of these have been built in Patagonia and many people love them. Compared with newer heater designs, however, this design leaves much to be desired: it has insufficient mass for the size of the firebox, the firebox itself inhibits clean combustion, and the design is inflexible.  Also, the design tends to generate extreme temperature differences on the surface which favor cracking.)
It should be noted that the insulation in an average house in Argentine or Chilean Patagonia is absolutely atrocious; this is certainly an obstacle to wider adoption of masonry heater technology and partially explains why metal stoves have flourished. However, a notable trend is developing towards better insulation and this trend should be accompanied by efficient heating technology.
My formation as a builder has taken place primarily within the context of natural/earthen building movements, so I was more than just intrigued by the suggestion, in Alex’s article “Riding a Russian Rocket,†that his proposed designs could be built with unfired bricks and simple clay mortar. Those of us familiar with rocket heaters know that simple materials can be used to create a well-functioning, if somewhat finicky, heater and we all know that European and Eurasian stoves came along before the advent of space-age materials. There is something exciting and empowering, however, about an established stove mason presenting modernized, proven designs and saying, “this can be simple AND sophisticated.â€
I refer to simplicity with respect to materials and, to some extent, the techniques involved in construction, but not with respect to design. In my experiences researching, studying, and then building heaters, I have come to see that simple builds are only made possible by thoughtful design. If we want to push the limits with materials the design will become ever more important.
Material simplicity is important in my mind for a few reasons: Simple means more widely accessible; Simple means more sustainable. Simple also means means a safer, quieter, and less wasteful building site.  (In each of these three builds I would cap the first bell and the top of the heater by laying bricks around the perimeter and then filling with all the brick pieces and rubble off the floor.)
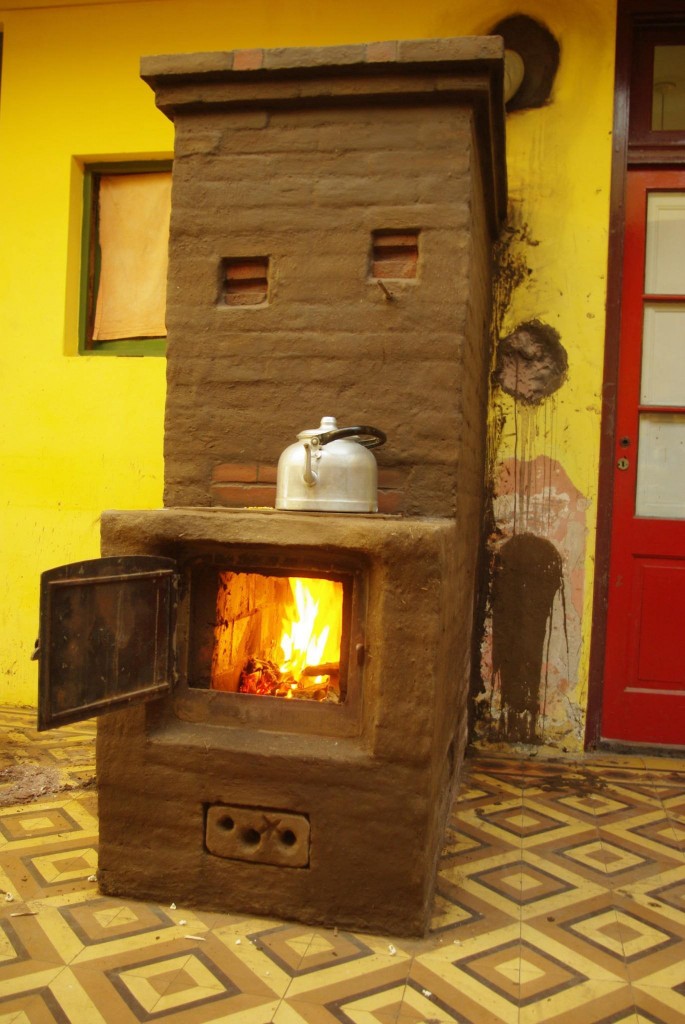
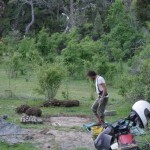
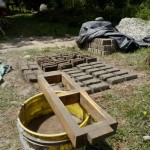
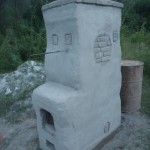
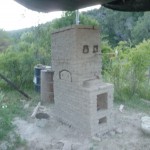
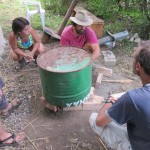
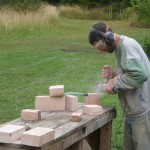
The first of the three heaters was built as a demonstration/test heater at my home and my only option was to build it outside. The idea was to give locals a full-size, functioning example of a low-cost, sophisticated heater. Over the course of several weeks I produced 700 “adobe†bricks, working alone. I modified a traditional adobe recipe by eliminating fiber (straw) and increasing the proportion of sand to increase density. The final proportion was somewhere in the neighborhood of 4-1 Sand to pure clay. I hauled sand in a wheelbarrow from a nearby river beach. The clay was part of a truckload I had ordered a couple years ago for construction and comes from a quarry about 40 KM (23 mi.) away. It is a very pure clay, light gray in color, and I would process it by soaking in a pit for a few days and then mixing with feet and hands to produce a thick clay slip. I have no electricity, so I mixed by loading the materials onto a tarp and treading with my feet. While time consuming, foot treading provides an amazing sensory connection with the materials…you get to a point where you know in an instant when it’s ready and what adjustments need to be made. It is easier to mix wet but easier (and preferable with regards to density) to make bricks with a dryer mix so I usually let the mix dry a bit before packing it by hand into a wooden mold. I calculated that I could make around 30 per hour including the time of making the mix but not including time of gathering and processing clay and sand.
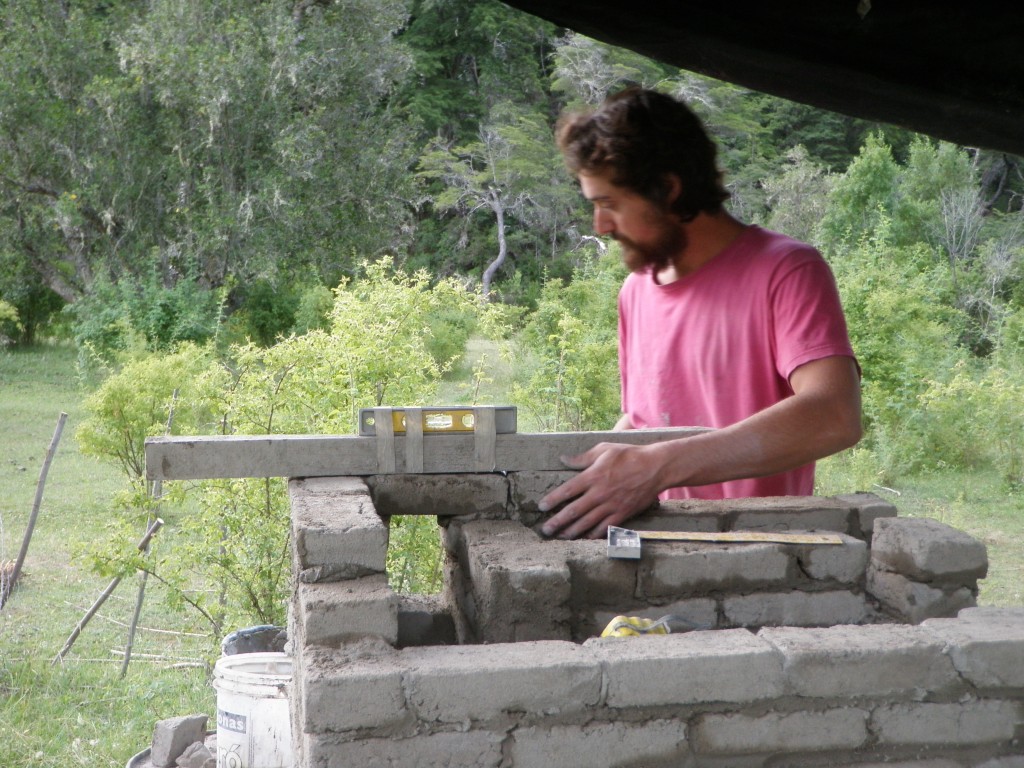
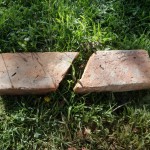
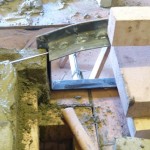
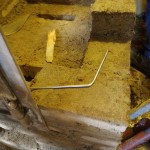
The build itself was pretty straightforward but with some peculiarities related to the bricks.  I felt more like a sculptor than bricklayer, as the challenge presented by the bricks’ irregularity was more than compensated for by their willingness to be shaped. I could cut and carve bricks easily with my trowel to fit any situation and soon decided that instead of struggling to lay the bricks perfectly I would lay them as best I could and trim everything to plumb and level as I worked. Relative to cooked bricks these were fragile, but they could withstand a decent beating, whether from the butt of the trowel or taps on my improvised “Stabila†(see above photo), and I broke very few.
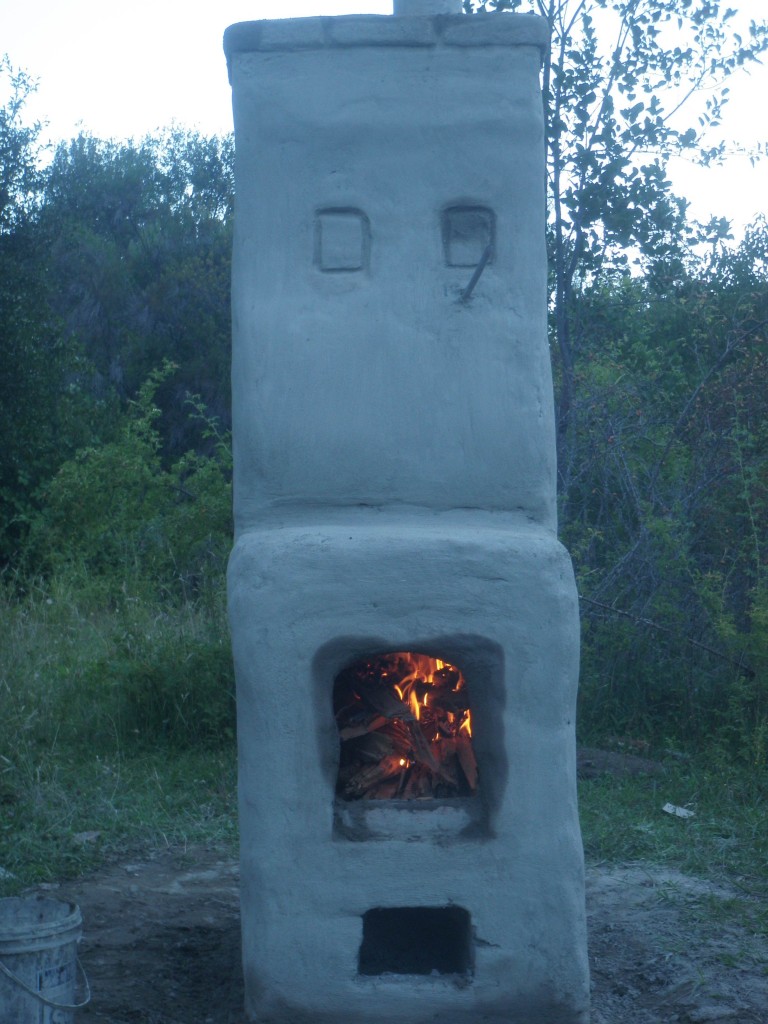
I had no doors and so fashioned a plug for the oven out of the same sand/clay material (inspiration credit to Kiko Denzer), sealing it with mortar before firing. I fired the stove with no firebox door, using bricks to regulate the air. The firebox was built with common red bricks and the air grates were handmade from leftover pieces of tin using tin snips, a cold chisel, and a drill. The stove drafted beautifully and generated strong, smokeless fires.
A full firebox load lasted about 1.5 hours until coals and several hours later, on a cold windy night with no protection, the stove was warm to the touch. The heat I felt was uneven, being extremely hot on the outside of the back wall of the oven and only very warm in other spots. This observation, however, is from isolated firings in an outdoor space, so I imagine with more regular firing indoors the stove would saturate more evenly with heat. Stack temperatures were low: even after over-firing I could still hold my hand to the thin-walled chimney pipe, although not for more than a few seconds.
Once finished laying bricks I sculpted the stove with a machete and plastered it with a 2-1 sand/clay mix.  The only cracking I noticed after a few heavy firings extended backwards from the upper part of the firebox and can almost certainly be attributed to the fact that I capped the firebox with red bricks and then covered it all with the clay/sand I used to plaster the stove, taking no care to allow for expansion. It was clear from the cracks that the capping bricks pushed upwards on all the plaster that had been used to cover them.  The biggest cracks were less than 1/16th inch in width.  (I am experimenting with repairing the cracks while the stove is very hot).
The materials for this stove cost me nothing because I only used materials I had on hand. I also had a damper on hand, but I started the stove several times with the damper closed and, aside from losing summer cooking functionality, I don’t see any problem with not using the damper in an ultra-cheap model. Assuming I had needed to buy the sand, the clay, the red bricks, and some tin the cost would be less than 300 pesos (around $50). Â I do not find the “dollarized” cost to be a valuable measure of the stove’s real cost. Â In my mind we should think in terms of how much of a person’s income is needed. Â In this region an average, blue-collar laborer’s wage would be 4000 pesos per month.
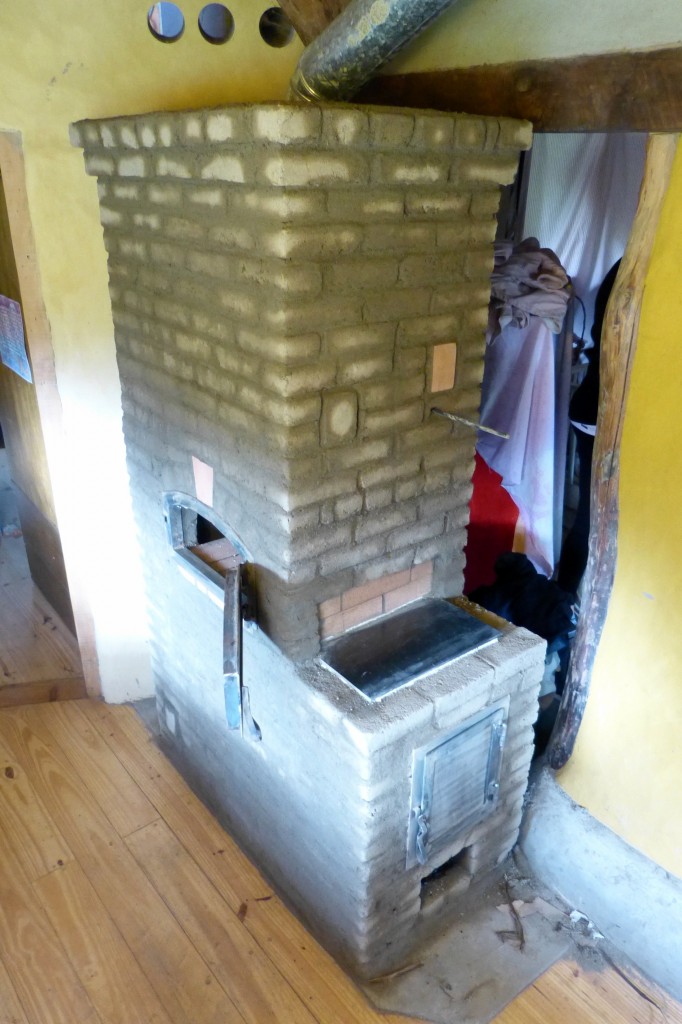 A similar stove was built in a workshop at CIDEP, a permaculture teaching and investigation center, outside of El Bolson, Argentina. For this project more care was taken in producing the bricks and various tests were done to maximize density and durability. The final mix had 2-3 parts sharp sand, 1 part relatively pure clay, and 1 part of a fine sand/silt. We theorized that our better densities with this mix were due to the addition of the fine particles. We calculated the density of our bricks at 110 lbs/ft3 which compares favorably to common red bricks. On a cost-benefit basis these bricks (free except for sand and labor) even compare favorably to an average firebrick, more so when one considers that they have an embodied energy close to zero.
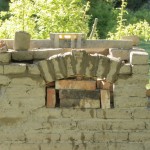
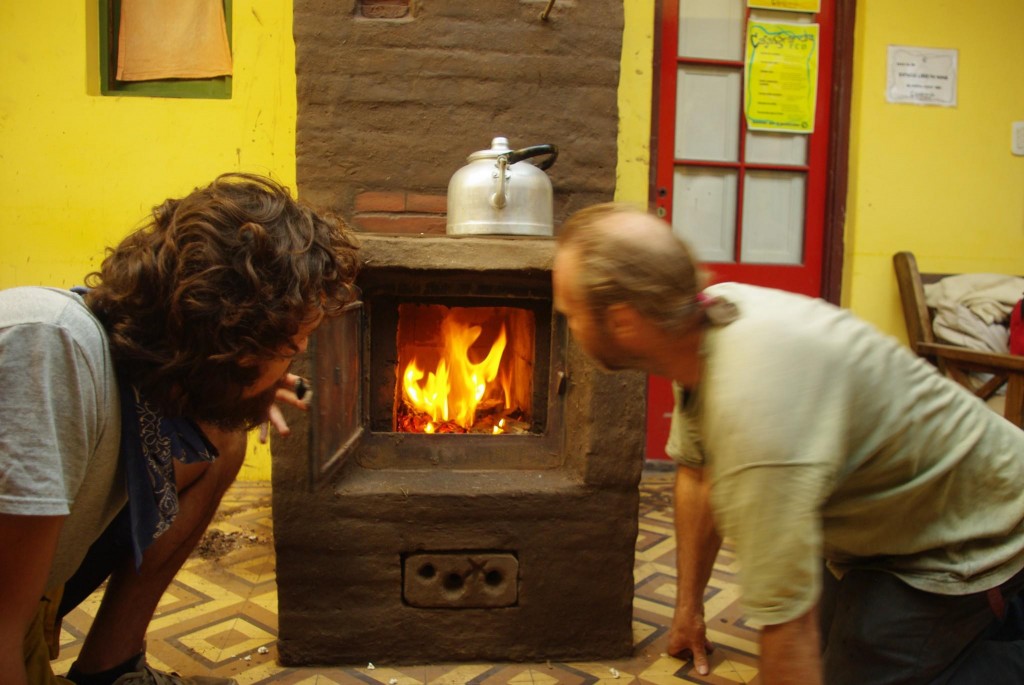
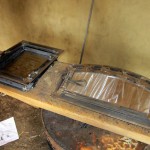
The construction of this stove differed little from that of my test stove, although we had custom hardware made onsite by Alejandro Allasia, the resident of the house where we built. He even managed to produce a beautiful oven door with a multi-faceted arch. We did use new firebricks in the firebox and the oven and also were able to find ½ inch ceramic blanket to use as a gasket for the stove-top and hardware; we aimed at professionalism even though we were primarily using very “common†materials. The stove owners plan to do a retrofit install of a hot-water system, taking advantage of the fact that the stove can be cut into and repaired easily because it’s all just clay and sand. They also plan to finish the stove with an earthen plaster.  The materials for this stove were under 2000 pesos (about $340).
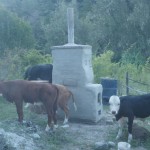
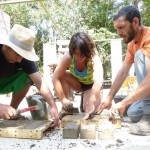
The last of the three stoves was recently built in a workshop with a group dedicated to permaculture and natural building at their “eco-hostel†in the coastal town of Mar del Plata, Argentina. The bricks they managed to get are fascinating: gunmetal in color, they are uncooked bricks from a traditional brick-making operation nearby, run entirely by Bolivian immigrants (In an interesting twist, we discovered that the kilns in use at this factory are actually giant bell stoves). The mixture is a few parts of a sandy soil mixed with black clayey earth. The same mix used to make the bricks was also supplied to use as mortar and in its more liquid state has the characteristics of extremely plastic clay. I was very skeptical of using this mix because it appeared to have very little sand and I worried about it shrinking and cracking, but the raw, dry bricks made of the same mix showed no signs of cracking or weakness so I said “what the heck, let’s do it.â€Â The bricks were amazingly hard, even uncooked, and resisted cutting and shaping with the trowel.
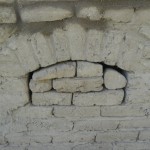
Starting with the bricks and the mortar, this stove was an exercise in improvisation. The group was very keen on minimizing costs and was willing to accept potential consequences in the name of experimentation. We used a cast-iron door from an old woodstove that was very wide, but instead of changing the firebox size we just anchored the door in the adobes and let it be bigger than the firebox. From the outside you have no idea until you open the door. The plan is to later weld some metal plates to the inside of the door to protect the exposed bricks in the firebox entrance. To anchor the door we used random pieces of a metal basket someone found in the trash and employed them in the style of Alex Chernov’s motorcycle spoke technique.  We couldn’t make a recycled door work with the oven so we built the arch and bricked it in.  One of the participants is going to make a door that will somehow be retro-installed.  We used common red bricks instead of refractory bricks for the firebox and the oven.  The cooktop was cut out of the wall plates of the same stove that supplied the door. All of the participants were used to building with very “organic†forms and so we had to find some middle ground between my desire for precision and the group’s desire to let the stove have “flow (their words).†Materials costs for this stove were well under 1000 pesos (around $170).
Initial tests of all the stoves seem promising (they are sturdy, draft well, store heat, and show low stack temperatures), but long term observation is obviously necessary to see what, amongst all this experimentation, works and what needs to be changed or tossed out. Â The two primary areas of concern/observation for me will be heat transfer and cracking (especially around the hardware). Â As long as the stove isn’t dangerous, however, any assessment of “success or failure” should acknowledge that it is essentially free. Â In other words, if we can achieve an ultra-low-cost option we should be willing to accept minor imperfections.
The stove built at CIDEP will be used by a family for an entire winter and will be the subject of a detailed analysis, including the possibility of emissions testing with a local university. The group in Mar del Plata will also do close observation of their heater—they are “rocket†fanatics and will be making lots of comparisons in terms of efficiency, ease of use, and overall enjoyment. If any heater-building readers have suggestions on simple observations or tests that can be done over the winter I’ll pass the info along.
What most interests me about building with unfired bricks is the way in which, given the use of proper technique and materials, mortar, brick, and plaster are fused into one monolithic piece. It seems to me that much of the complication in building heaters is related to the disparate nature of the materials (bricks, mortar, and facing are all foreign to each other and care must be taken to ensure integrity of the mass).  Building with unfired bricks and a mortar of similar or identical material, however, the materials combine integrally and the result is a single mass: I always “plastered” the inside of the stove with mortar as I worked and the bricks become one big block.  The biggest advantage, in my mind, to be had by using unfired materials is in the realm of plastering.  Earthen plasters are much easier to apply and much more effective when applied to “like†surfaces because they can be physically incorporated into that underlying surface and, if properly applied, will “cooperate†with that surface in whatever movement may take place. Fixing cracks can be as simple as passing a wet finger over the affected surface.  In single-skin heaters, where the integrity of the walls is critical, the use of unfired, earthen materials may offer some interesting solutions.  The key is to find the right materials in the right proportions and to understand how they act in high-powered heaters.
When it comes to building I am something of an idealist and also a relative novice, so I’ll temper my enthusiasm for those readers who are perhaps more experienced and more skeptical: I am by no means suggesting that some grand mystery has been solved and we can just build all our heaters out of dirt (if you are game for experimentation, though, do it!). I recognize that regulations, client concerns, and the desire to maximize performance often justify the use of the most sophisticated materials available. Obviously “earthen†heaters are not a practical option for the majority of builders or clients at present.
I enjoyed the experience of building these heaters and hope they can serve as a few amongst an increasing number of data points available as reference for those of us interested in doing research and development on the materials front. I see exciting possibilities in store for those interested in melding smart, modern heater design with simpler, cheaper materials.
I have great respect for the work Alex Chernov has already done in seeking to empower those searching for this combination. I have also been inspired by the work of Eva and Max Edleson, by Lars Helbro’s commentary on his website regarding clay and sand, and by my Argentine builder friends who have yet to find anything they would not try to build out of mud.  There were also some interesting responses to my question on the mha public Yahoo forum as to the extent to which refractory bricks are all-important. At this point in time these experiments are only relevant in those rare un-regulated parts of the world or to those even rarer un-regulated builders, but as time goes on I hope we will see an increase in the desire for and acceptance of hybridized “modern-primitive†energy solutions.
 Relevant Books Available from Handprint Press:
- The Book of Masonry Stoves – Rediscovering an Old Way of Warming, by David Lyle. An incredible account of human’s history with fire. More specifically, a tale of how man and woman have shaped mass around fires through the ages to capture the heat generated and heat their homes. The best introductory primer to masonry heaters.
- Rocket Mass Heaters: Superefficient Woodstoves YOU Can Build, by Ianto Evans and Leslie Jackson. How to build an efficient woodstove with recycled materials for $100.

These are truly sustainable living ideas, I appreciate your efforts. Thanks for sharing with us.
Great article! I wish I had the eye to build one of these. Looking at the MHA pictures doesn’t give me enough info to try a build. Can you send me a layered diagram of each section, and maybe even an animated drawing, so I might be able to try your design (like in the Russian plans)? As much as I like RMH’s I think I’d like to try a single skin masonry heater like yours, built with my own hands….
I’d appreciate your help with this….thanks
You’re doing a great job!
Well, we don’t have a step-by-step, layer-by-layer plan set on the website but here is an article by Alex Chernov that gives more background on the design and designs like it. You can potentially contact him through the Stovemaster website to ask him for the plans as he indicated that he would eventually make them available there. Tell him you found out about this heater at Handprint Press! 🙂
That sounds like a lot of fun. The comment about “sustainable-living bourgeoisie” seems a bit out of place coming from someone who once worked as an investment banker, especially if you are trying to encourage people to adopt the technology. What exactly is the point of a sustainable heater unless you have a place to put one ? 🙂
Hi
I think we have builded the same heater ! Inspiring to read about your experiences with cheap materials wich is exactly what I am trying to do. Like your place gas is available here, but many places wood is used a lot and sometimes the only option. Lots of villagers go through winter with terrible stoves. I am happy to find someone with the same passion!
I have used bricks for the most, because they are localy made, and available very cheap. But I only use local clay for mortar. It works great. There are two things I learnt from locals making tendir (local made outside clay bread stoves) You can make awsome refractory like brick with mixing in wool and ashes in to the mix. I almost always use ashes in my mortar now, it makes it so nice to work with and its free!. If I want an organic shape somwhere I sculpture it with clayslip and wool. When it burns it will never crack. But you need light clay almost yellow in colour. When it burns it turns more yellowish with just a hint of red.
When I builded Alex Chernovs heater I had problem with getting quickly a frying temperature on the coocktop. The flames are just pulled to the back. That prevented it from giving a quick boil. That problem actually was BIG for the owner as they are heavy tea drinkers. I later found that having some direct underair makes the flames hit the coock-top better. (but it might make it burn more unclean??) The locals also found the coocktop to small. The heat was awsome, but the nead of the locals was not met. And then it was a failure…
Asessing the neads takes time and experience. I made a smaller stove that is somewhat a mini mass-heater 300kg inside a metall box. That stove is very popular cheap and quick to build, and can be builded offsite. It burns clean and heats a room easely it saves them 50% compared to the old stoves. And it is great for coocking all day. Just a little bit of wood will make the coocktop hot. I now hope to make a small company that will build a version of it for sale. (offcourse as cheap as possible.) For those that can do it themselves I also provide drawings for free on my website. http://www.tamizsolutions.com
Happy building!
Jon,
I am inspired by your passion, but most intrigued by how simplicity soothes your soul. What a gift!
Vicki mcnally
Hey Jon!
This is an awesome article! I wish I would have read it before Wild Acres, I would have had more questions for you. It was a pleasure to work with you on the single skin workshop at Wildacres this year. Let me know when you are in Colorado…
I agree with your views about simplicity.Simple is widely accessible.
Hi Jon,
Thanks for writing this article. Pretty inspiring that you’ve stayed on in Argentina doing great things. I miss that place, especially Alex’s farm and Rio Azul.
Don’t know if you remember me? Australian, red hair, guitar…
Anyway, might catch you in that part of the world again soon.
Keep enjoying and congratulations,
Louisa.
FYI for those reading this far…the pictures shown are all taken pre- finish plasters. Hope to do a follow up on the plastering process before too long.
Jon,
Really inspiring. Thanks for sharing! If you’re ever up in New England let me know and we’ll find a place to host a workshop and build one.
-Nate
Thanks Nate!! Would love to connect with you, I will be spending the summer in Western MA.